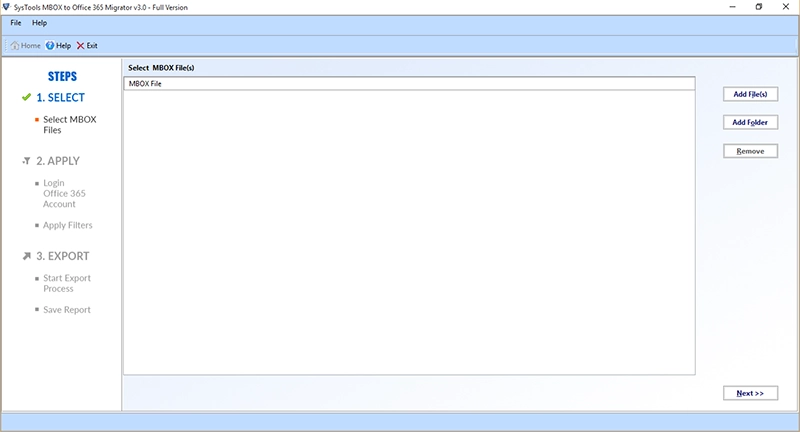
Import MBOX to Office 365
This Migrator Tool is developed in order to upload MBOX files in Microsoft Office 365 account with a trouble-free manner. There is no need to choose one file after the other as it has the ability to convert the files in bulk at once. Users just need to launch the tool in the machine and then they can perform the migration. This is an important step in the migration of Thunderbird to Office 365 environment.
Export Various MBOX Files
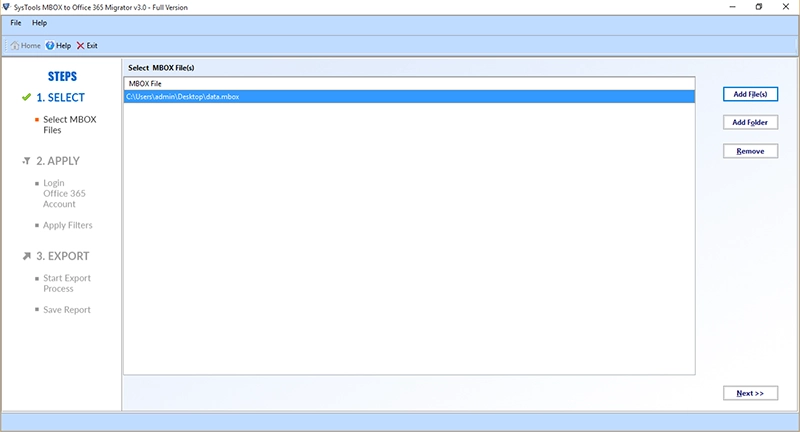
The software has been created in such a way that it supports shortcut keys. This means that if users wish to choose more than one MBOX file for uploading the data, then they can use this tool. It allows users to choose multiple MBOX with CTRL button. Therefore, with this, the procedure of moving MBOX to Microsoft cloud can be achieved quickly.
Convert Damaged/Deleted MBOX
There are some users who has unhealthy or deleted file and need to upload MBOX files into Office 365, considering their need this feature is added to the tool. It is possible to shift damaged file through this advance utility. Apart from this, users can even convert deleted MBOX files. They can transfer these folders with removed email like inbox.mbox, sent items.mbox.
Two Options to Transfer MBOX
Another important and interesting feature, which is added to the software panel is its two modes to import MBOX to Office 365. By using these two options, users can execute conversion as per their need:
Add File: This option permits for adding single or multiple MBOX files into Office 365 account.
Add Folder: This option permits for adding single or multiple MBOX folders for uploading them into the account of O365.
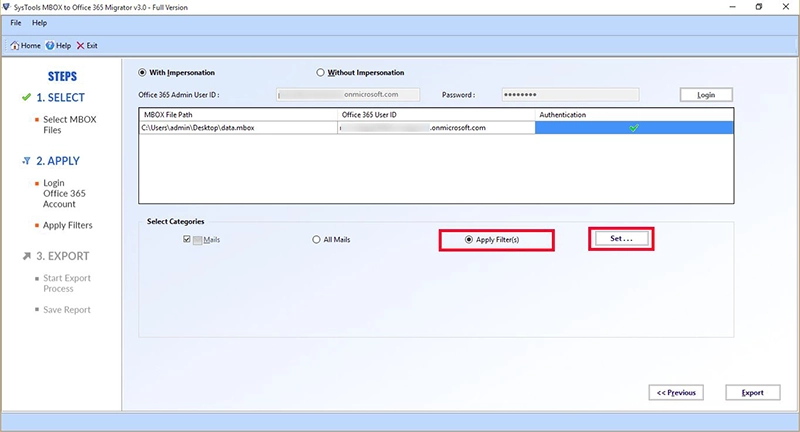
Shift All MBOX Emails
The application has the capability to move the only the chosen categories. According to this, if users want to pick some specific emails then they can go for date filter option. On the other side, if they require all the files then they can perform the files conversion in that way also. The software works according to the need of the users.
Upload SBD to Office 365
As we know, SBD is the file, which is created for every folder separately. By using this utility, users can export SBD to Microsoft Office 365 account in a direct manner. The product is capable enough that it can even migrate the database in bulk. Moreover, the task of moving files becomes simple and quick with this MBOX file to Office 365 migrator.
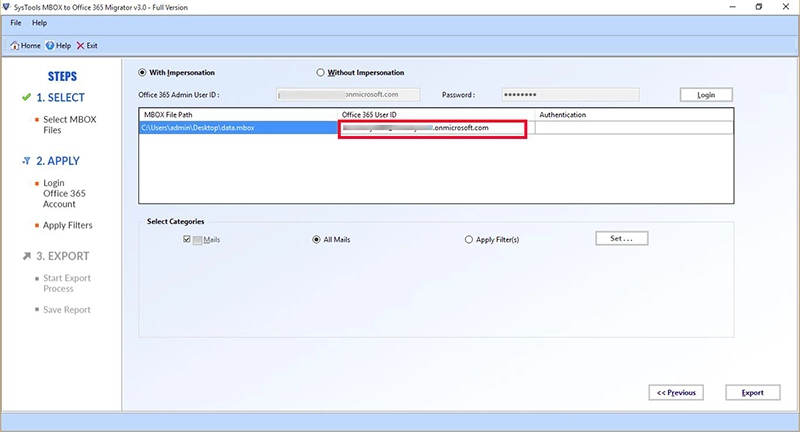
Import With/Without Impersonation
MBOX to Office 365 Migrator Software comes up with one more unique and eminent feature. According to this, users can upload/export mailbox to O365 with or without impersonation. In with impersonation, it need to put the Admin User ID along with the password and then it can transfer multiple mailboxes easily. Without impersonation, one need to put the password for each mailbox.
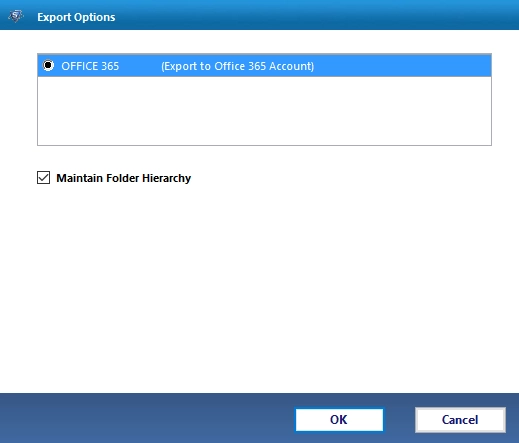
Maintain Folder Hierarchy
Apart from all the available features of MBOX migrator, this option has its own importance. For those users who want to get the folder structure in the same way as it was before the importing process, this is a useful option. With the help of this, they can get the same structure of the folder in Office 365 account. They just need to put a mark in front of Maintain Folder Hierarchy option for this. It is an optional feature and therefore, not mandatory to choose.
Date Filter Option
Now, by using date filter option, users can import only the selective emails. Some users have a bulk of files and they do not want to waste their time in performing a complete conversion of MBOX files into O365. Therefore, in such circumstances, they can opt for this option. They just need to put the dates in the column of “From” to “To” and then all the emails falling under that date range will be displayed by the application for migration.
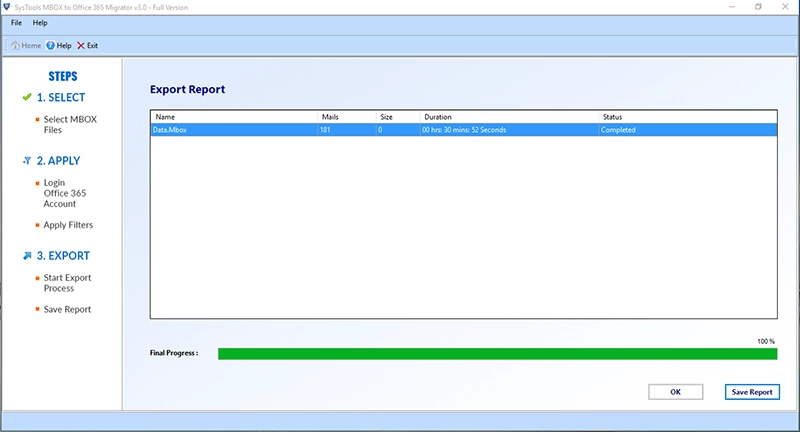
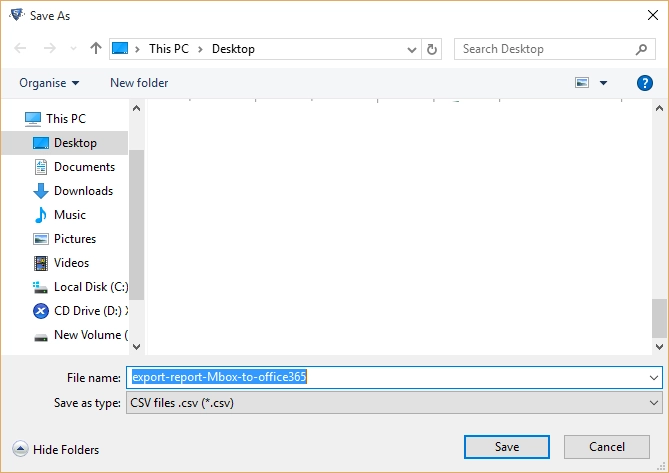
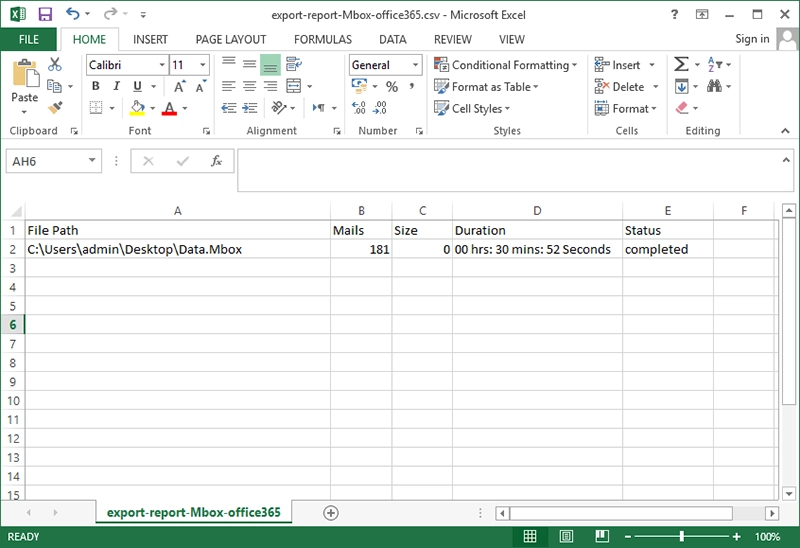
Facility to Store as CSV Report
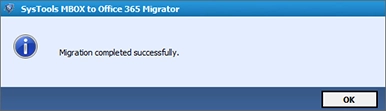
Utility to transfer MBOX file to Office 365 also supports the storage of CSV files. After the selection of data, users need to hit on Export. As soon as it is done, the process of conversion begins and the software displays the progress report of the procedure. Once the conversion is done, they can now receive a completion report in CSV format. This is report can be saved by users in any of the location if needed.
Compatible with Windows
The utility makes the entire process to upload MBOX to Office 365 simple. Users can run the application in any of the editions of Windows Operating System. This means they run it on Windows 11, Windows 10, Windows 8.1, Windows 8, and Windows 7. In addition, all their files remain safe and protected with the MBOX file to Office 365 Migrator tool.
.mbox Extension not Mandatory
This software can import MBOX to Outlook 365 platform whether or not the source file contains a .mbox extension. The automatic identification system of this tool is the reason for this unique feature. You can use it to deposit all the not just the MBOX but MBX, MBS files into the M365 cloud environment.